Growing Potatoes in Raised Boxed Beds - John Jeavon's Method
This article is credited to the original creator of The Modern Victory Garden Website.
I have been growing potatoes successfully for some time now in raised boxed edge beds using a trenching method. This trenching method produces a reliable harvest but also wastes valuable growing real estate with the wide spacing between trenches. The yields I have obtained from the trenching method are good but not superior and in my pursuit to increase the production of the potato patch per 100 square feet, I began researching other methods more intensely. I already knew my trenching method equals or exceeds the bin, furrow, and heavy mulching methods for production, so I did not waste time reverting back to any of those methods. What I ended up focusing on instead was the John Jeavon's method. This entails doing a double dig and planting the potatoes on top of the loosened soil at the bottom of each trench and then covering it with the soil from the next trench to be dug. The seed potatoes are buried much more deeply right from the beginning (approximately 9 inches or more) but in really loose soil resulting from the double dig. You do not hill or add more layers, which is appealing in that once planted it is a relatively no fuss method of planting. However, I must note that the initial planting is more work since you are double digging the bed as you go. If the bed has been previously double dug though, it really is fairly easy work.
Planting
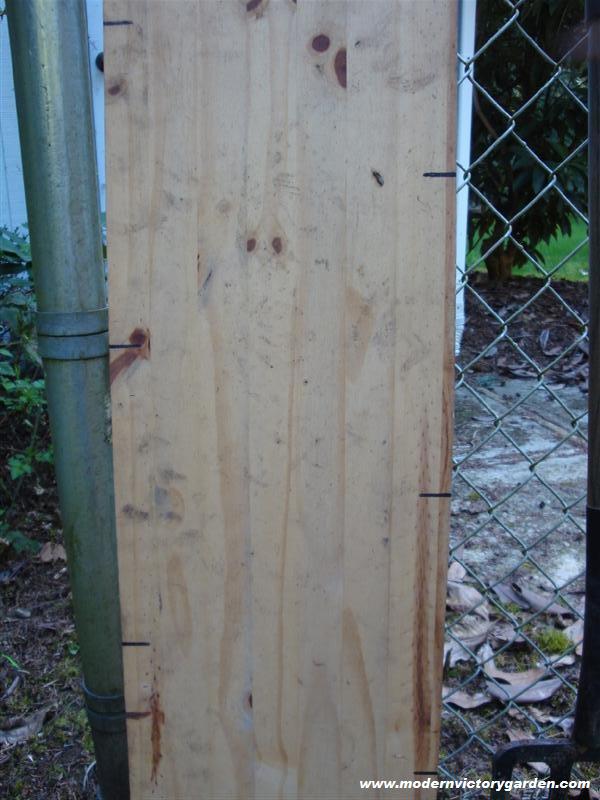
The potatoes are planted with a spacing of 9 inches between them. The next row over is approximately nine inches from the first and the spuds are offset from the prior row to create a diamond pattern. I made a planting board for this purpose - which has spacing marked at 9 inch intervals on one edge, and the same intervals marked on the other edge, but offset.
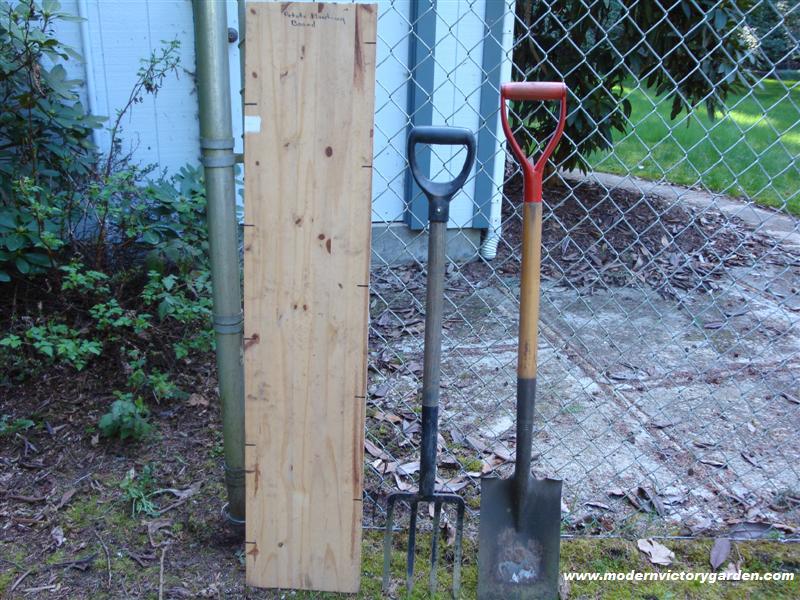
The bed is prepared by broadcasting organic all purpose fertilizer, and spreading compost over the surface of the entire bed. To get started with the planting you will need a garden spade, a garden fork, a garden rake, the planting board, a standing board (to distribute weight and minimize the soil compaction in the bed while double digging), and a wheelbarrow to hold the soil removed from the first trench.
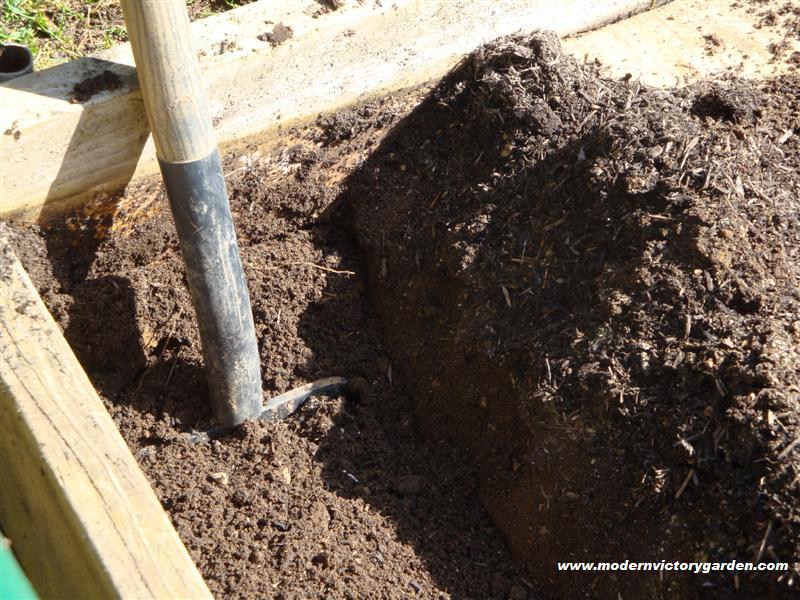
Standing on the board, I use the spade to remove soil across the width of the bed, creating a trench that is approximately as wide as the spade and as deep.

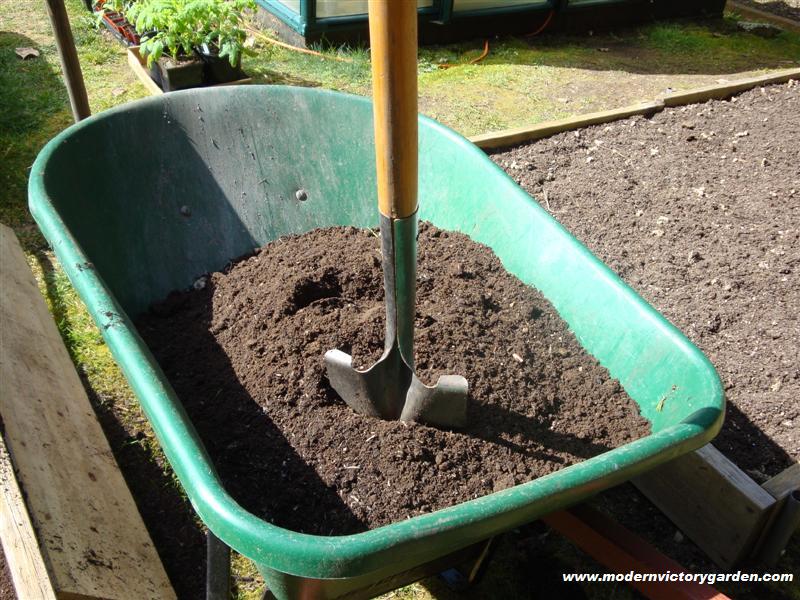
The soil from this first trench is placed in the wheelbarrow and set aside to be used at the very last step to fill in the final trench.
The garden fork is then used to loosen the soil at the bottom of the trench by digging into the soil and lifting. Since this bed has been double dug before the soil is not that compacted and the digging was relatively easy to do.
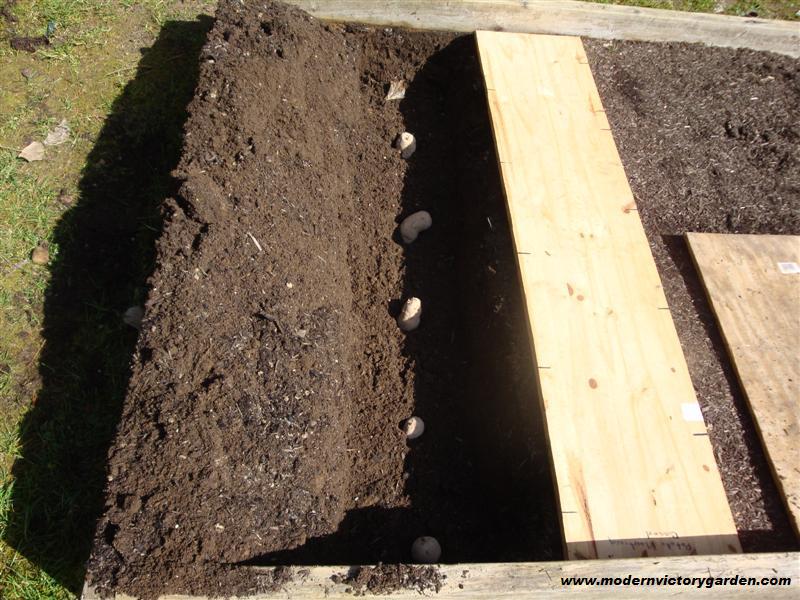
The planting board is laid next to the trench and seed potatoes are then placed in the bottom of the trench to line up with the marks on the board.
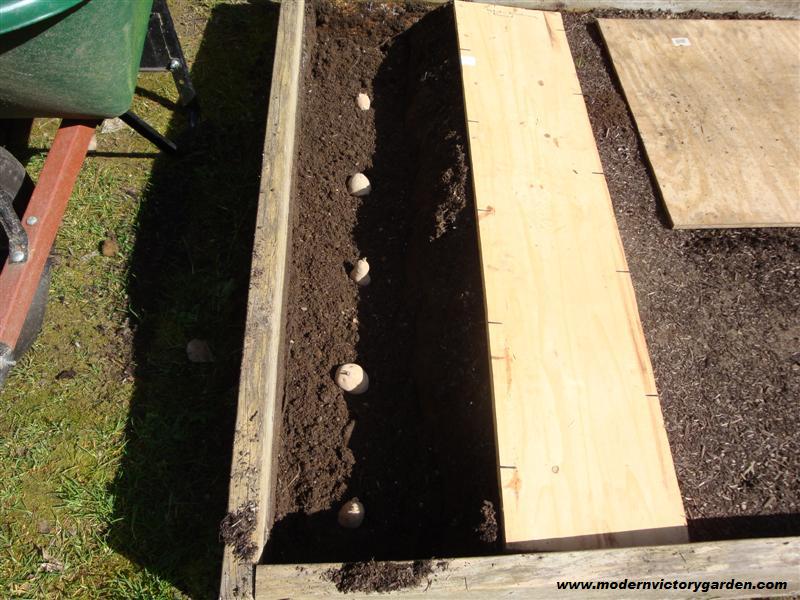
The planting board is then reversed so it is ready for the next trench. Standing on the board again, the next trench is then dug with the soil being placed into the first trench.
The bottom of that trench is again loosened using the fork and then the planting board is placed next to it and the seed potatoes are again put into the bottom of the trench. Because the board was reversed, the potatoes are placed in an alternating pattern to the first trench’s potato placement.
The process is then repeated for the third and each subsequent trench until you are completed.

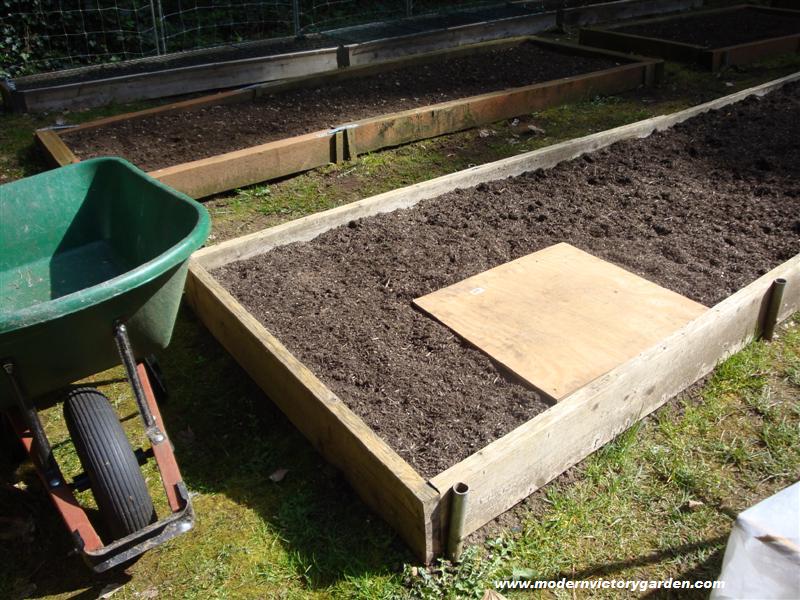
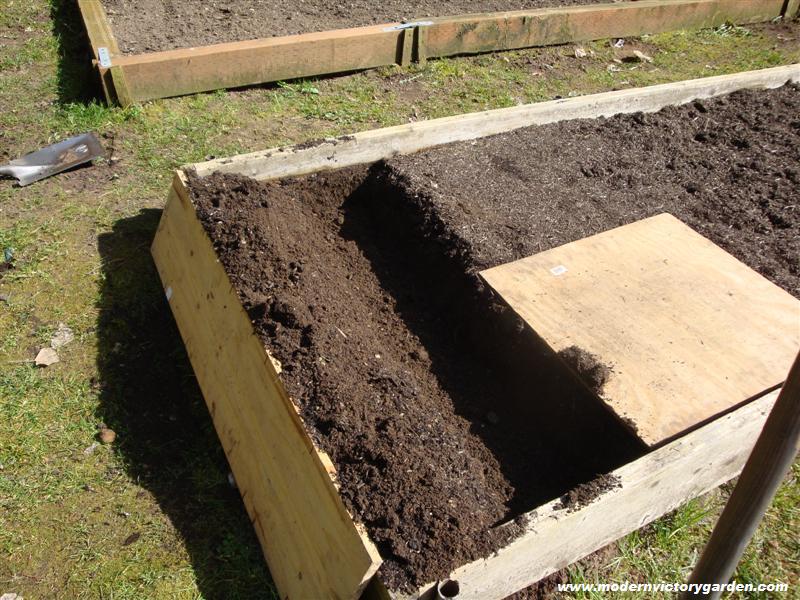
In this series of pictures I am showing a 32 foot long bed that I planted up in potatoes and to avoid undue stress on my back, I paced myself with the planting process. On the first day, I only completed an 8-foot section of the bed or 1/4th of it. I used a rake to smooth and level the soil over the bed sections I had completed.
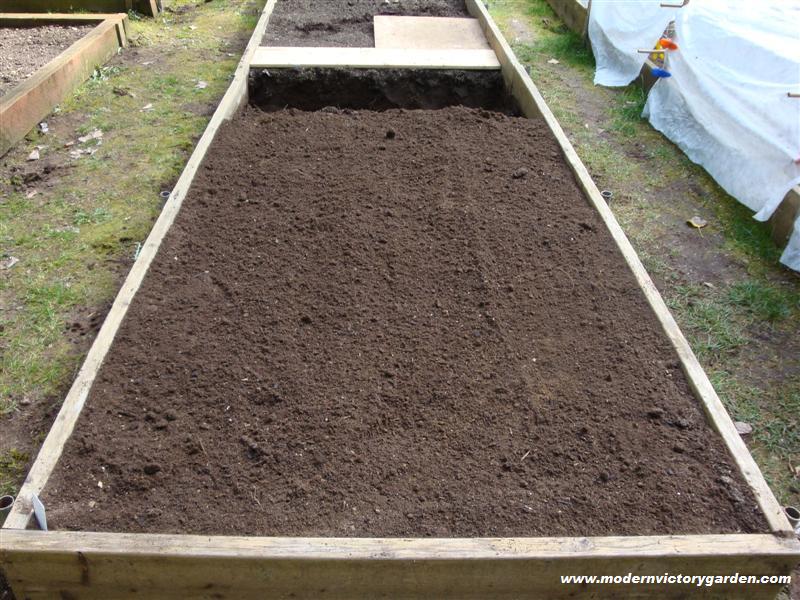
Over the next two days, I completed the rest of the planting up of the bed. A side benefit of this method is that the planting bed is given a rejuvenating double dig in the process. This picture does not do full justice to the quality and texture of the soil in this bed as it is really outstanding.