How to Construct and Use a Planting Jig
This article is credited to the original author of the Modern Victory Garden website.
My winter shop project was to construct a prototype of the idea I have had for some time now for a planting jig. I completed the first one, which was a 2-inch spaced planting jig (instructions below) and then went on to make 3 more of these – one with 3-inch spacing, one with 4-inch spacing, and one with 6-inch spacing. These are the most common within row (in all directions) spacing needed to intensively plant garden beds. I made the jig a 2 foot by 2 foot size because I rarely plant single squares of any one item, but rather do multiple blocks of a crop and often work my way down a large section of bed.
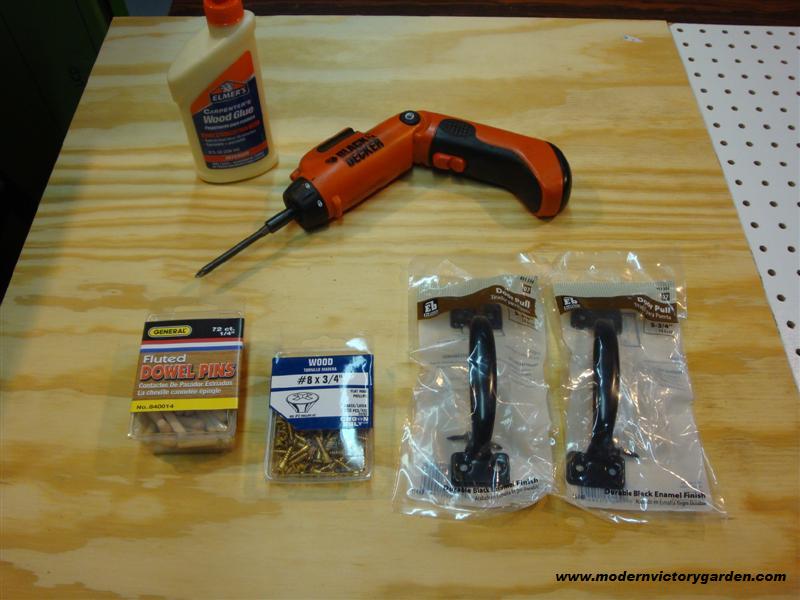
This is the list of materials that I used for this project:
- One sheet of pegboard - 2-foot by 4-foot dimension (you will use half of this for one jig)
- One sheet of good quality plywood – 2-foot by 2-foot dimension
- Two packages of Fluted Dowel Pins – ¼ inch diameter, 1 ¼ inch length – 72 count per package (need 144 for a 2'x2' board with 2 inch spacing)
- Package of #8 X ¾ inch wood screws – (get self tapping, I did not and regretted it)
- Carpenters wood glue
- Two 5 ¾ inch door pulls (comes with short screws)
Here is the list of tools I used for this project:
- A power jigsaw (you could use a table saw as well) to rip the 2’X4’ sheet of pegboard in half to make two 2’X2’ pegboard sections
- A power drill with a screwdriver bit attachment
- A rubber headed or plastic headed hammer (you could gently use a regular hammer instead)
- Measuring tape
- Straight edge Carpenters Square
- Pencil
- 2 pieces of scrap wood to use as blocking
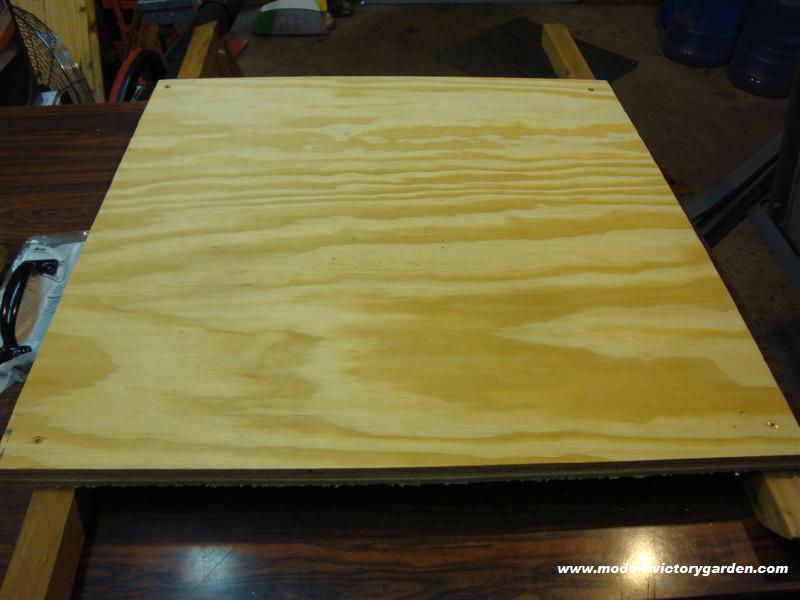
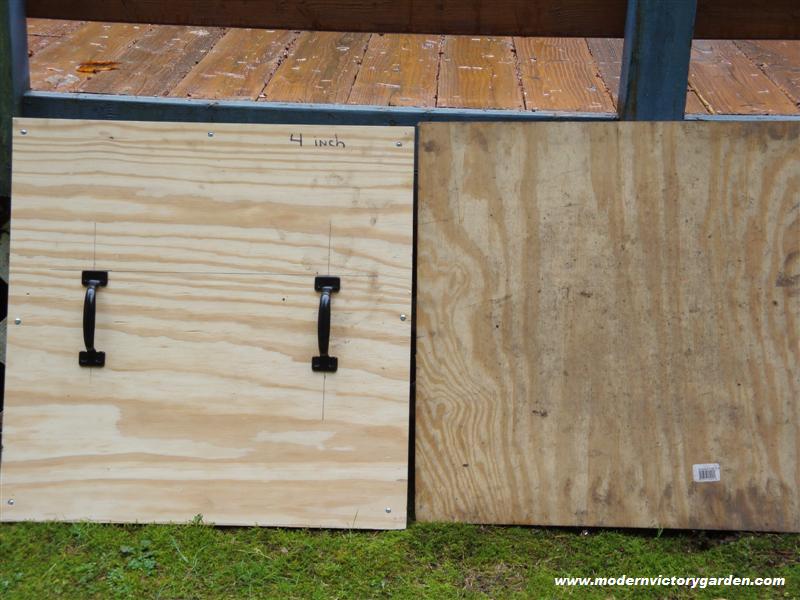
Here’s a picture of the plywood and several of the materials and tools used (not all). You can purchase 2-foot by 2-foot squares of plywood (and 2-foot by 4-foot panels of pegboard) at places like Home Depot or Lowes.
Step One - cut the sheet of 2’X4’ pegboard in half to make two sheets of 2’X2’ pegboard. I held the wood while my husband cut this using a jigsaw.

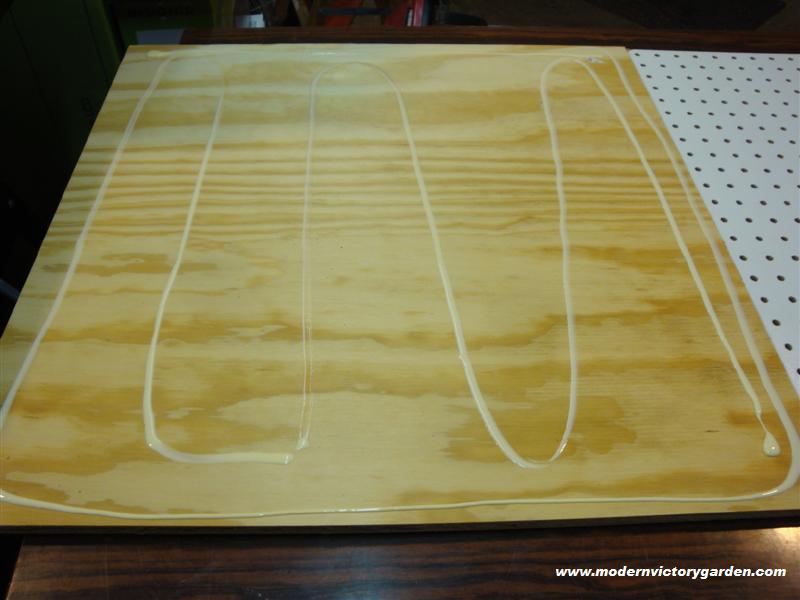
Step Two – place some carpenters wood glue over the surface of the 2’X2’ section of plywood.
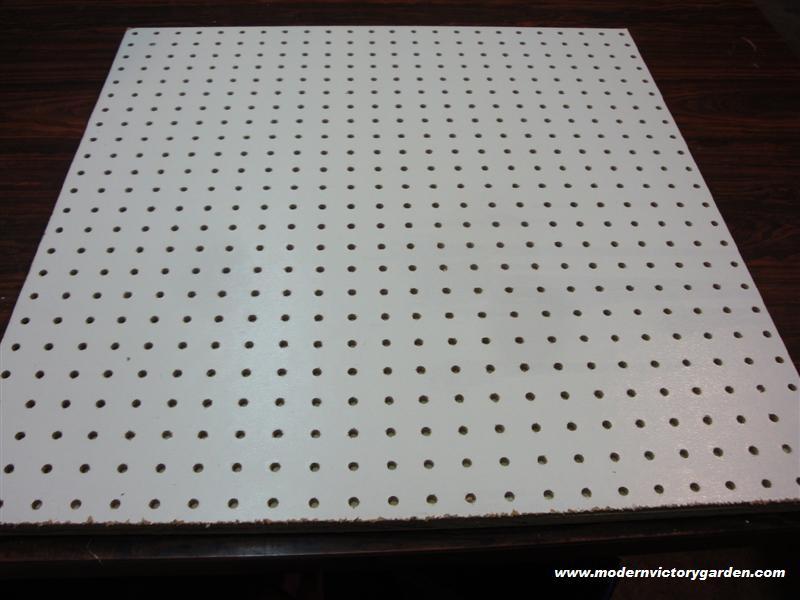
Step Three – place the 2’X2’ section of pegboard on to the glued surface of the 2’X2’ section of plywood. The idea is to provide a backing to the pegboard to make it stronger and to put a floor at the base of each pegboard hole opening.
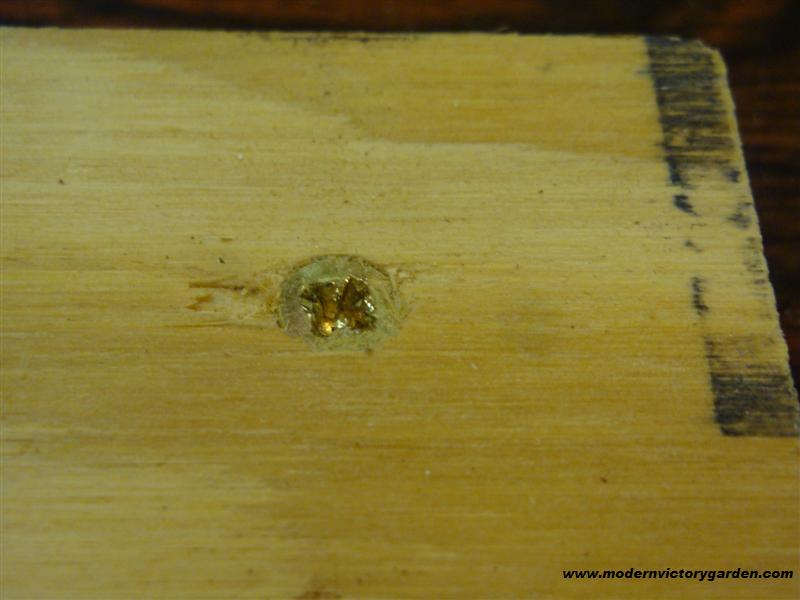
Step Four – turn the pegboard and plywood panel over and screw together at each corner using the #8-3/4 inch screws. This is not the best picture, but it is a close up of one of the screws. Once completed turn the panel back over so that the pegboard is facing up.
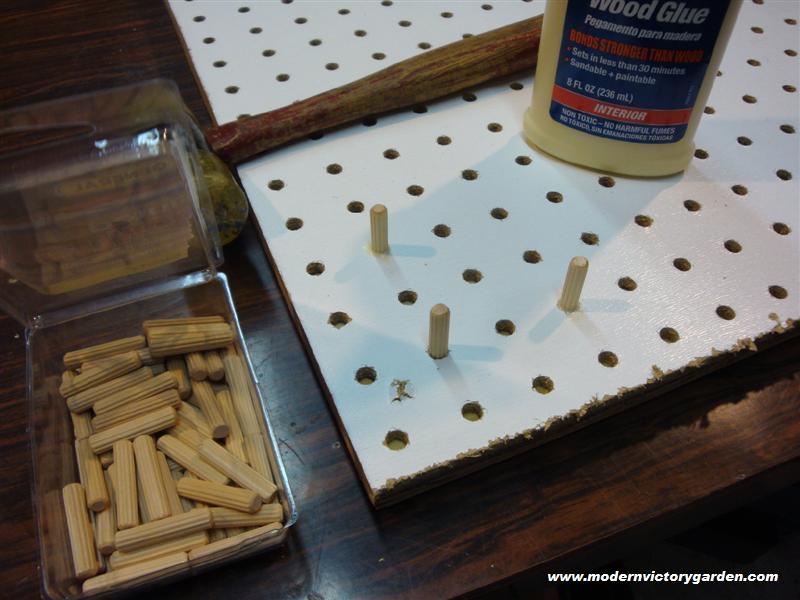
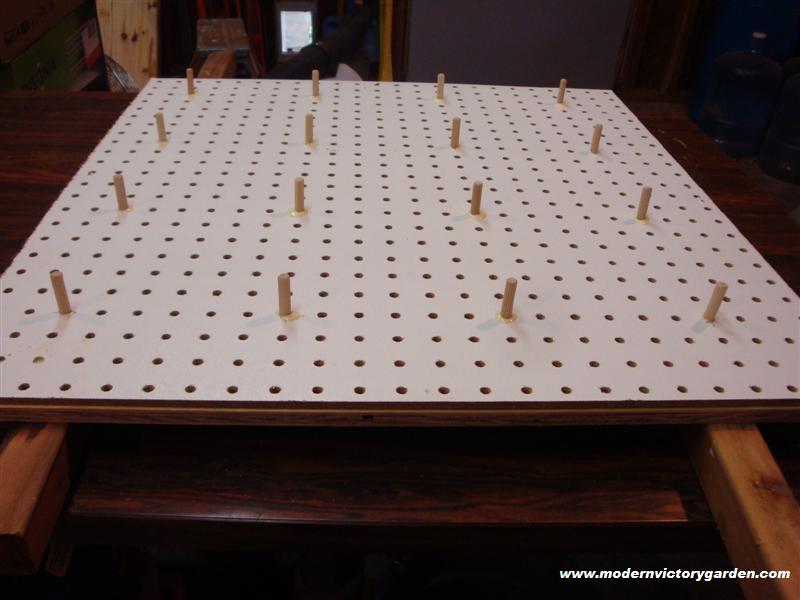
Step Five – using the spacing you desire for the planting jig, place a big dollop of carpenters wood glue in each pegboard hole and place a ¼ inch fluted dowel pegs, tapping it firmly in using a plastic headed hammer. I am making a 2-inch spacing planting jig so the pegs are spaced every other hole from one another. The pegboard holes are spaced 1 inch apart which makes setting up the grid very easy to do. Once they are all in place, let this sit over night to let the glue set up and dry completely.


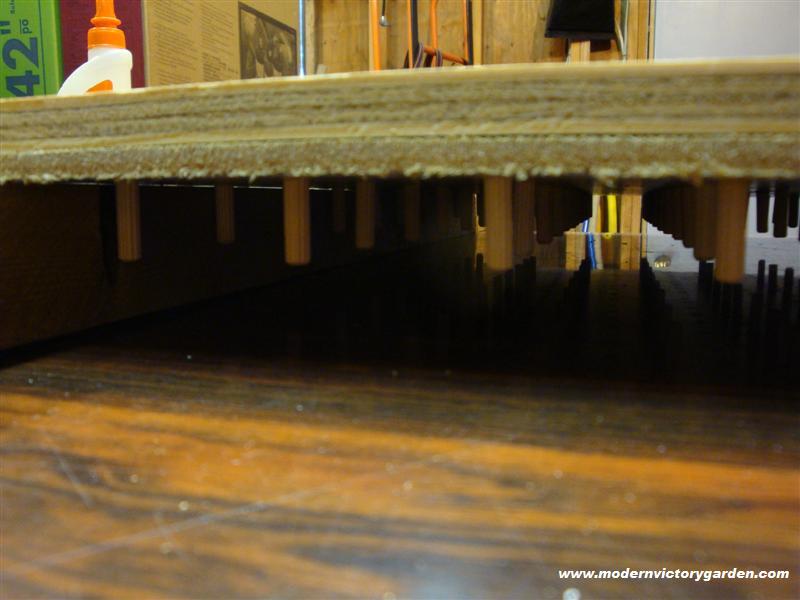
Step Six – the next day, carefully turn the peg board section over and place it on some lengths of scrap lumber (thin enough to fit between the rows of protruding pegs) such that the board is supported without putting pressure directly on the glued in pegs. The next two pictures show this – including the last picture which shows the clearance maintained between the pegs and the surface of the work table.
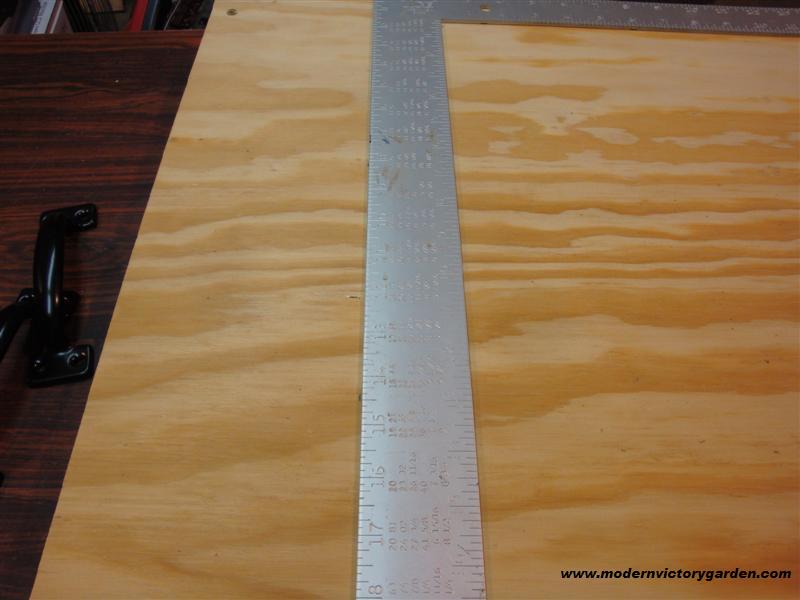
Step Seven – measure five inches in from each side and make a mark with a pencil. Do this twice on each side to establish two points from which a straight line can then be drawn. Similarly, measure nine inches from the top of the panel and make a mark with a pencil – doing it twice to facilitate drawing a straight line from point to point.
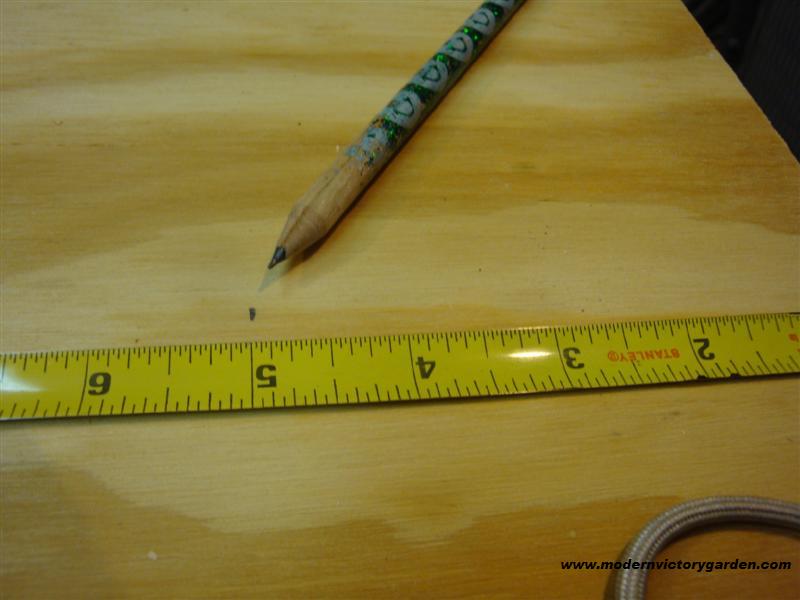
Step Eight – use a carpenter’s straight edge square and line it up with the pencil marks and then draw a straight line using your pencil. Do this for a vertical line on each side (spaced 5 inches in from the edges), and one horizontal line spaced 9 inches from the top.
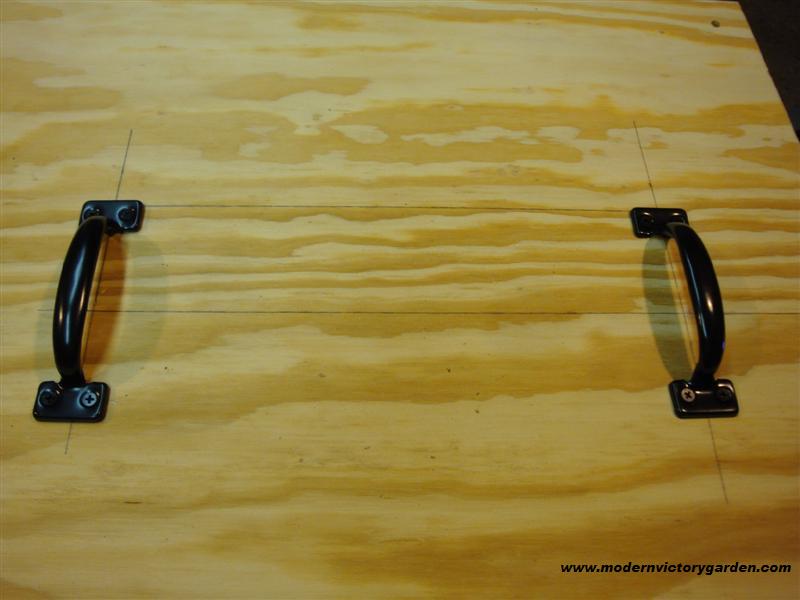
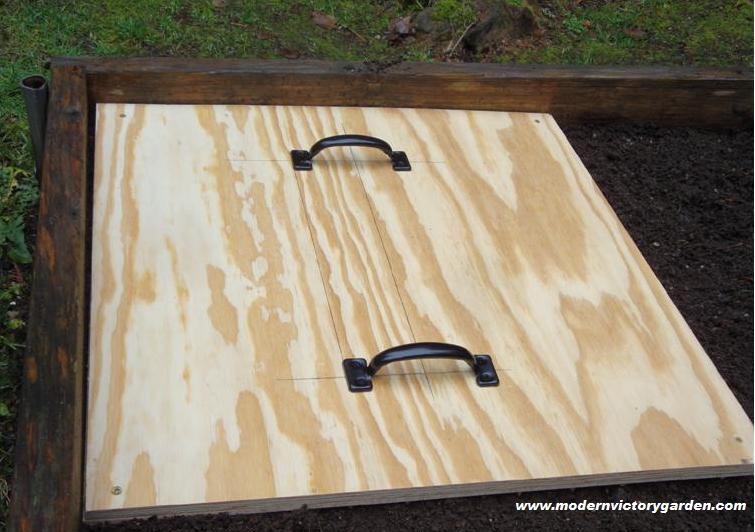
Step Nine – center the door pulls over the vertical lines and abutting the top edge against the horizontal lines and screw them into place.
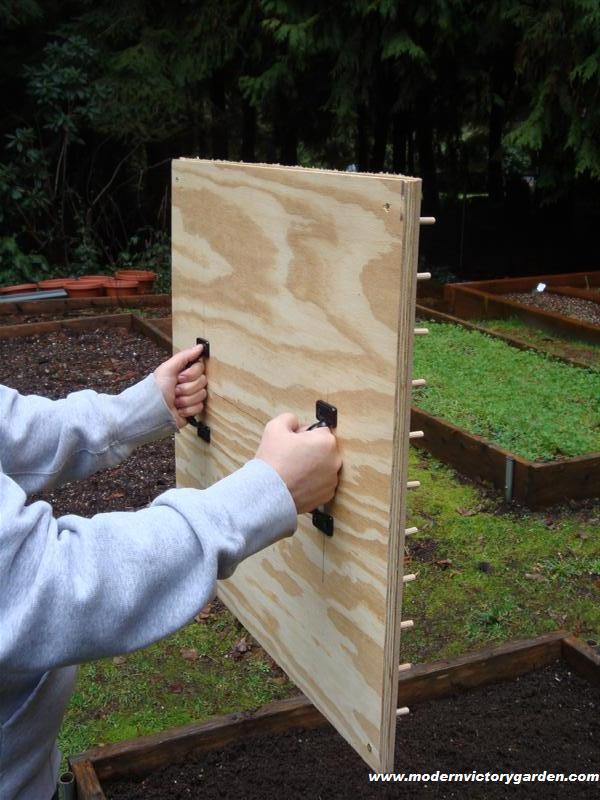
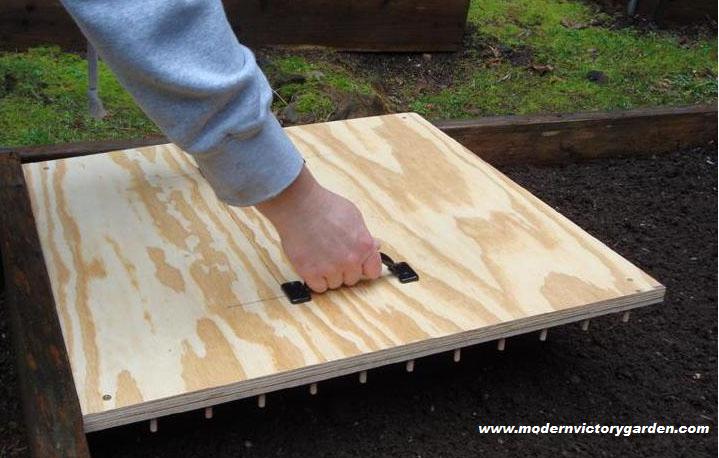
That’s all there is to it for the construction! Here’s how it works. Holding it using the door handles, lower it over a section of prepared garden bed soil and lay it flat on the surface of the soil so that the pegs are facing the soil. For shallow holes, just set it in place and do not press down – the weight of the board is sufficient for a shallow hole. For a deeper hole, press down on the board with your hands.
I did change one thing with the assembly of the 3-inch, 4-inch, and 6-inch planting jigs from the first one I constructed. I went up to a 5/16th inch dowel pin, which is a little bigger and creates a larger hole impression in the soil. I used a 5/16th drill bit to widen the holes in the pegboard where the dowel pins would fit. That worked very well. Easy to drill and the pegs fit in quite snugly. Here’s the 6-inch planting jig - fully assembled with the exception of the handle attachment.
More On Using The Planting Jig
I used one of my new planting jigs (the four inch spaced one) to plant the 2010 spring spinach patch. It is always important when planting seeds directly in the garden to get the seedbed as smooth and clod free as possible.
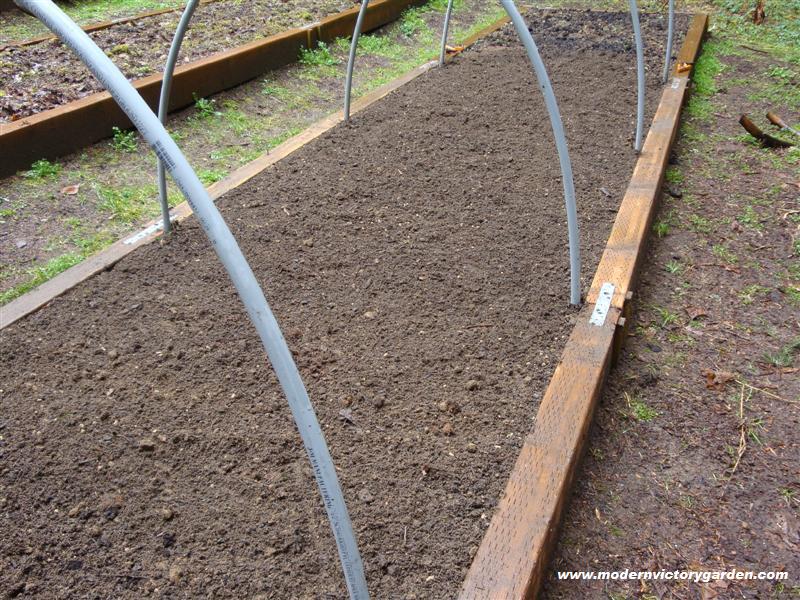
Before getting underway with the seeding, I brought out the planting jig and my regular 2-foot by 2-foot plywood board that I use for firming in seeds when doing a block planting process.
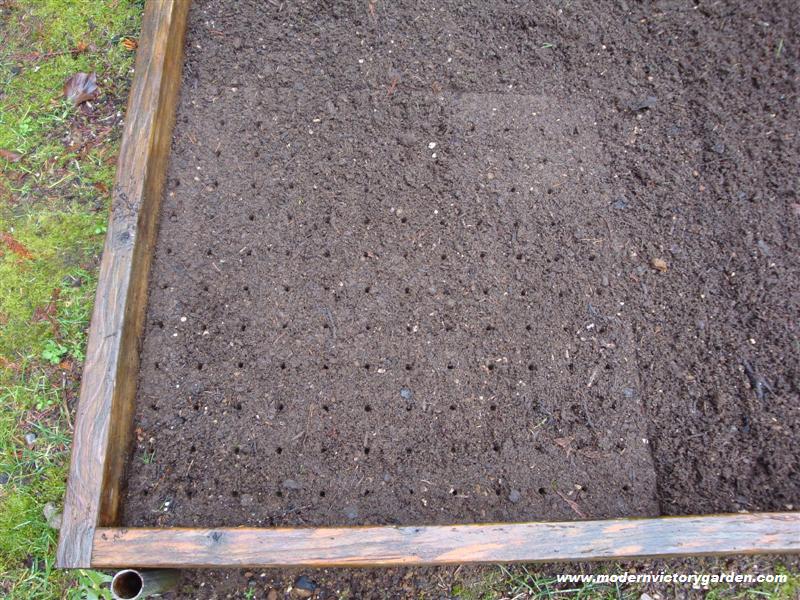
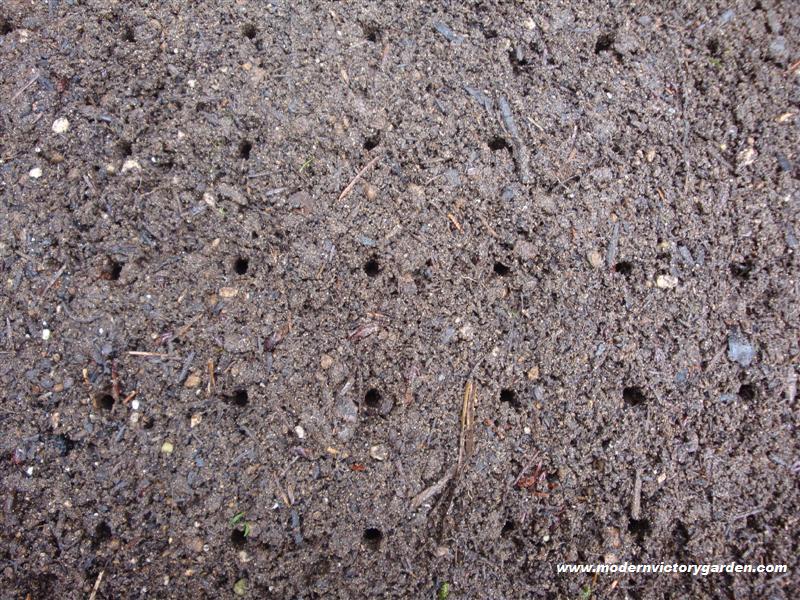
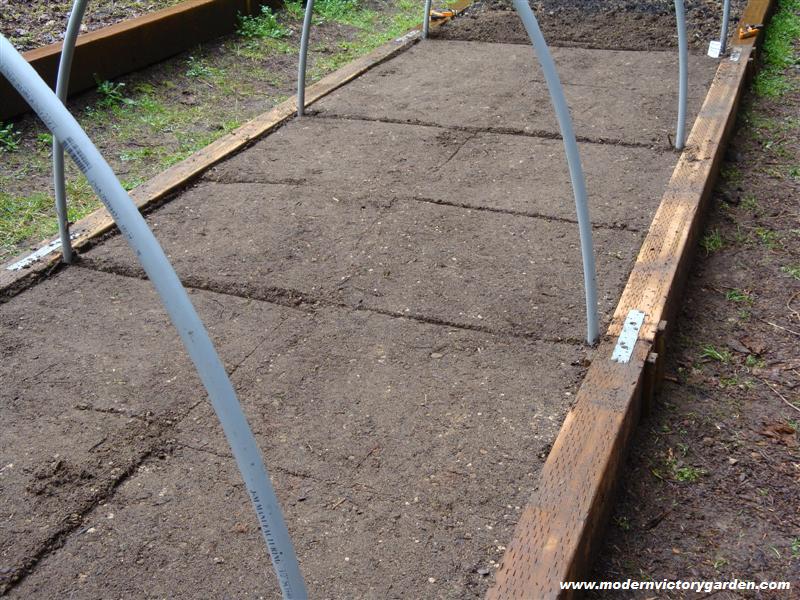
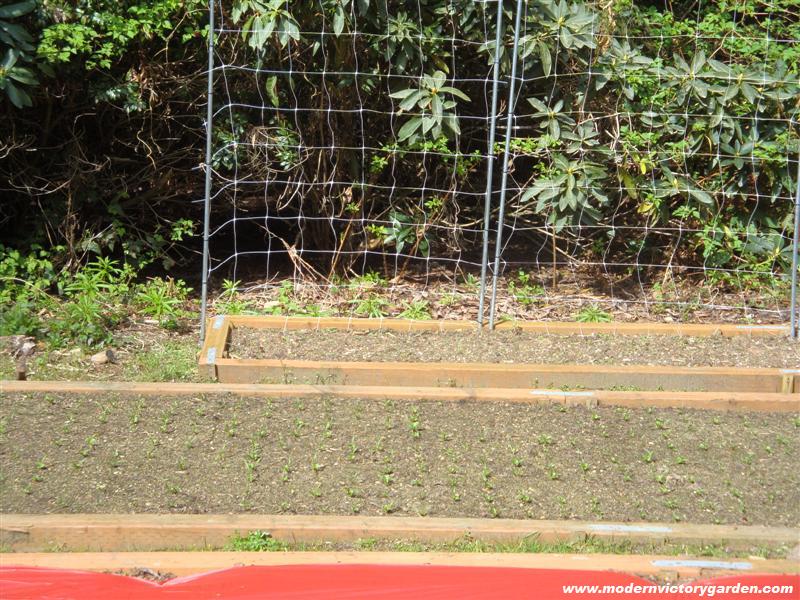
I used the planting jig to then press out 2-foot by 2-foot sections of 4 inch spaced planting holes down the bed on both sides – 9 spaces per square foot. Each jig impression provided 36 seeding holes and there were 12 of them to cover the entire surface of the 4-foot by 12-foot section of bed, which calculates out to 432 individual planting holes!

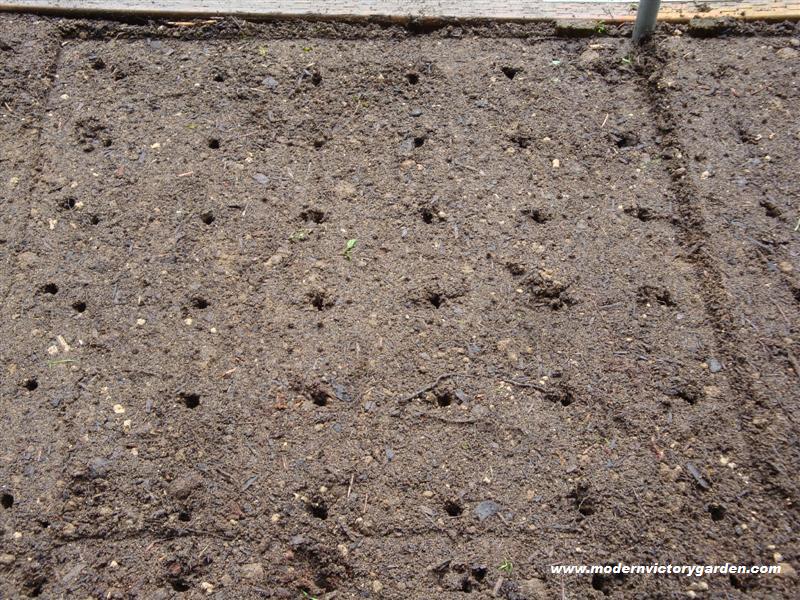
I then just placed a seed (sometimes two) in each hole. Once the seeds were in the jig holes, I smoothed the surface slightly with my gloved hand to fill in the top of the holes and then used the 2-foot by 2-foot piece of plywood to firm down and ensure good seed contact with the soil.
The last step was to water the bed well using warm water. It took me just a half hour to plant up this entire bed and the jig worked beautifully.
And here is how the bed turned out after the plants geminated, emerged, and began forming their first true leaves.
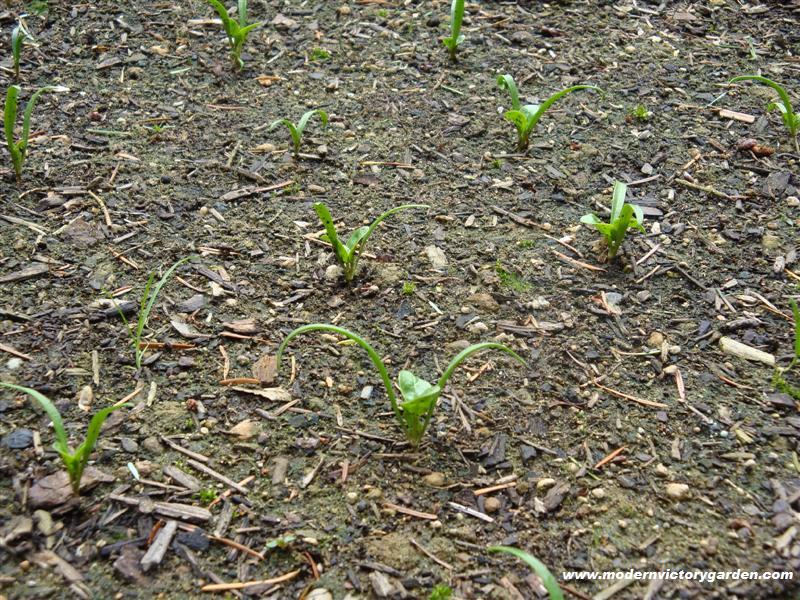
The planting jig worked beautifully. The plants are well spaced and there is only a few gaps where some seeds did not germinate.